Search Results
See All Results
Home
Reels
Groups
Pages
See More
Groups
Pages
Events
Blogs
Funding
Offers
Jobs
Forums
Movies
Join
Sign In
Sign Up
Theme Switcher
Day Mode
Search
Posts
Blogs
Users
Pages
Groups
Events
LowDownSlim
added a photo
2026-03-08 11:47:02
·
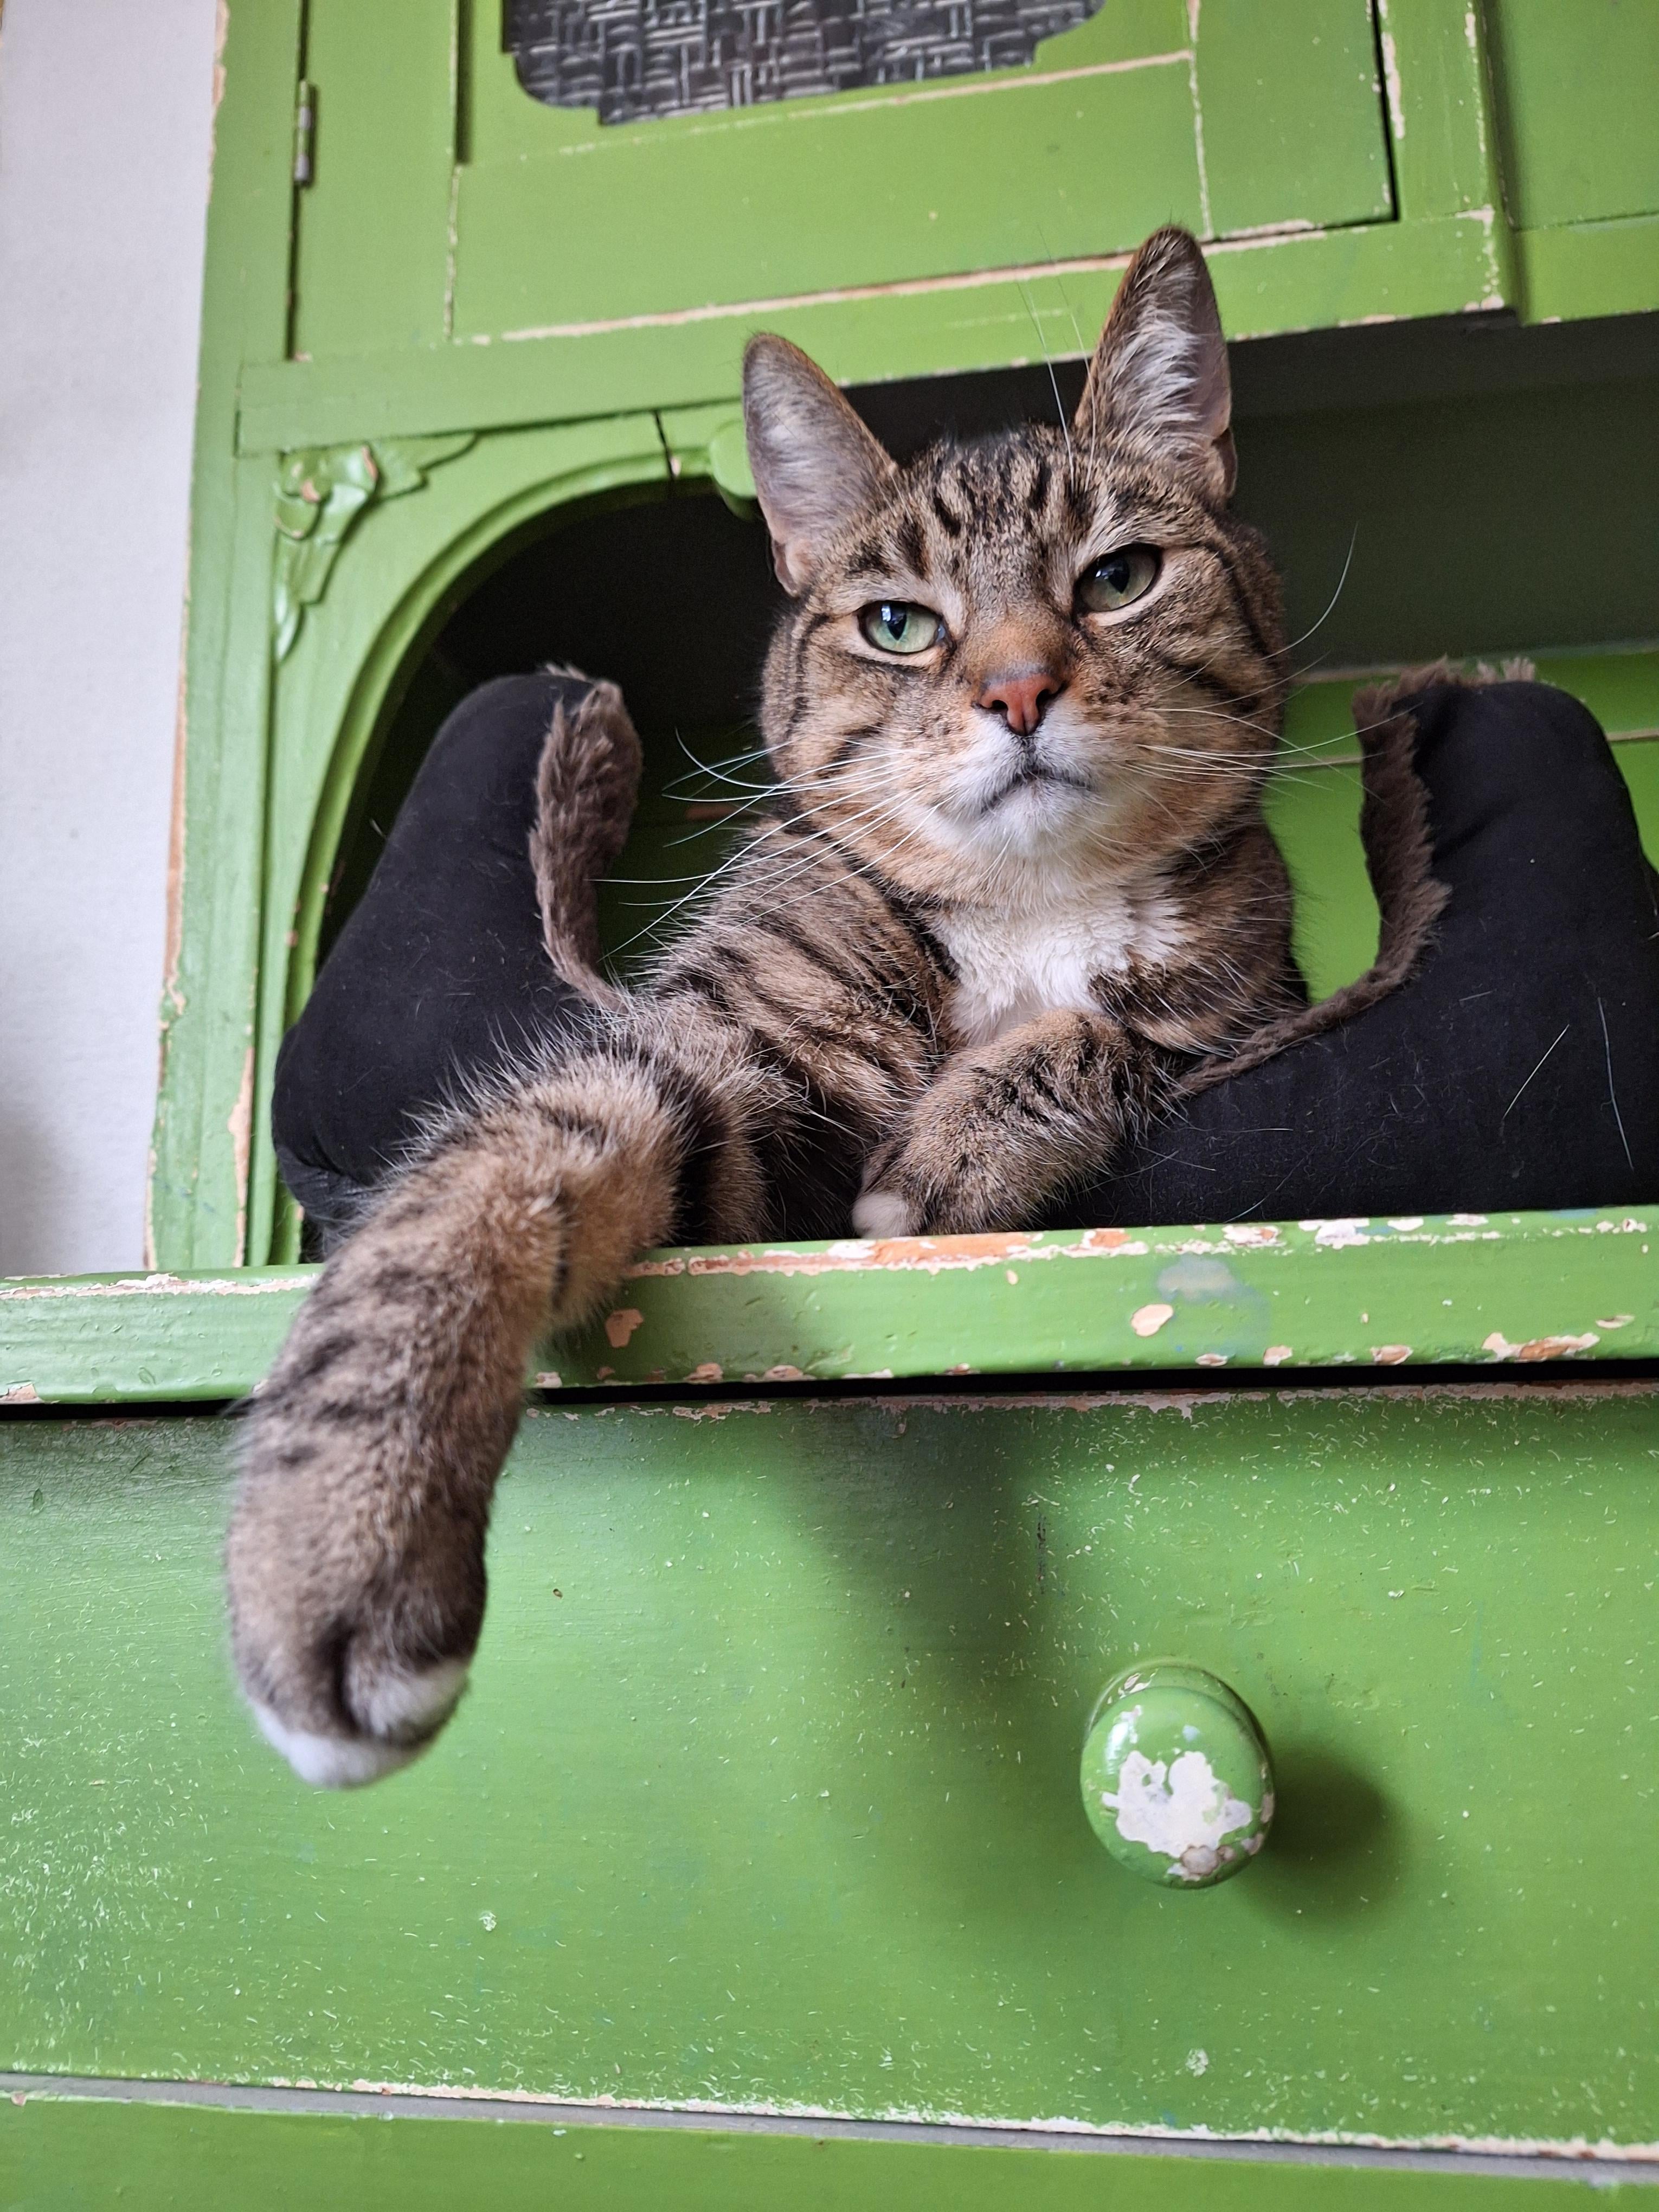
Chuck is a cool cat
Chuck is a cool cat
3
·
0 Comments
·
0 Shares
·
10K Views
·
0 Reviews
whosmaaya
added a photo
2026-03-07 19:54:02
·
The Eye of the Moon: A stunning in-camera double exposure by Zach Cooley at Arches National Park, Utah
The Eye of the Moon: A stunning in-camera double exposure by Zach Cooley at Arches National Park, Utah
3
·
0 Comments
·
0 Shares
·
93K Views
·
0 Reviews
PurpleWeakness1414
added a photo
2026-03-06 20:07:03
·
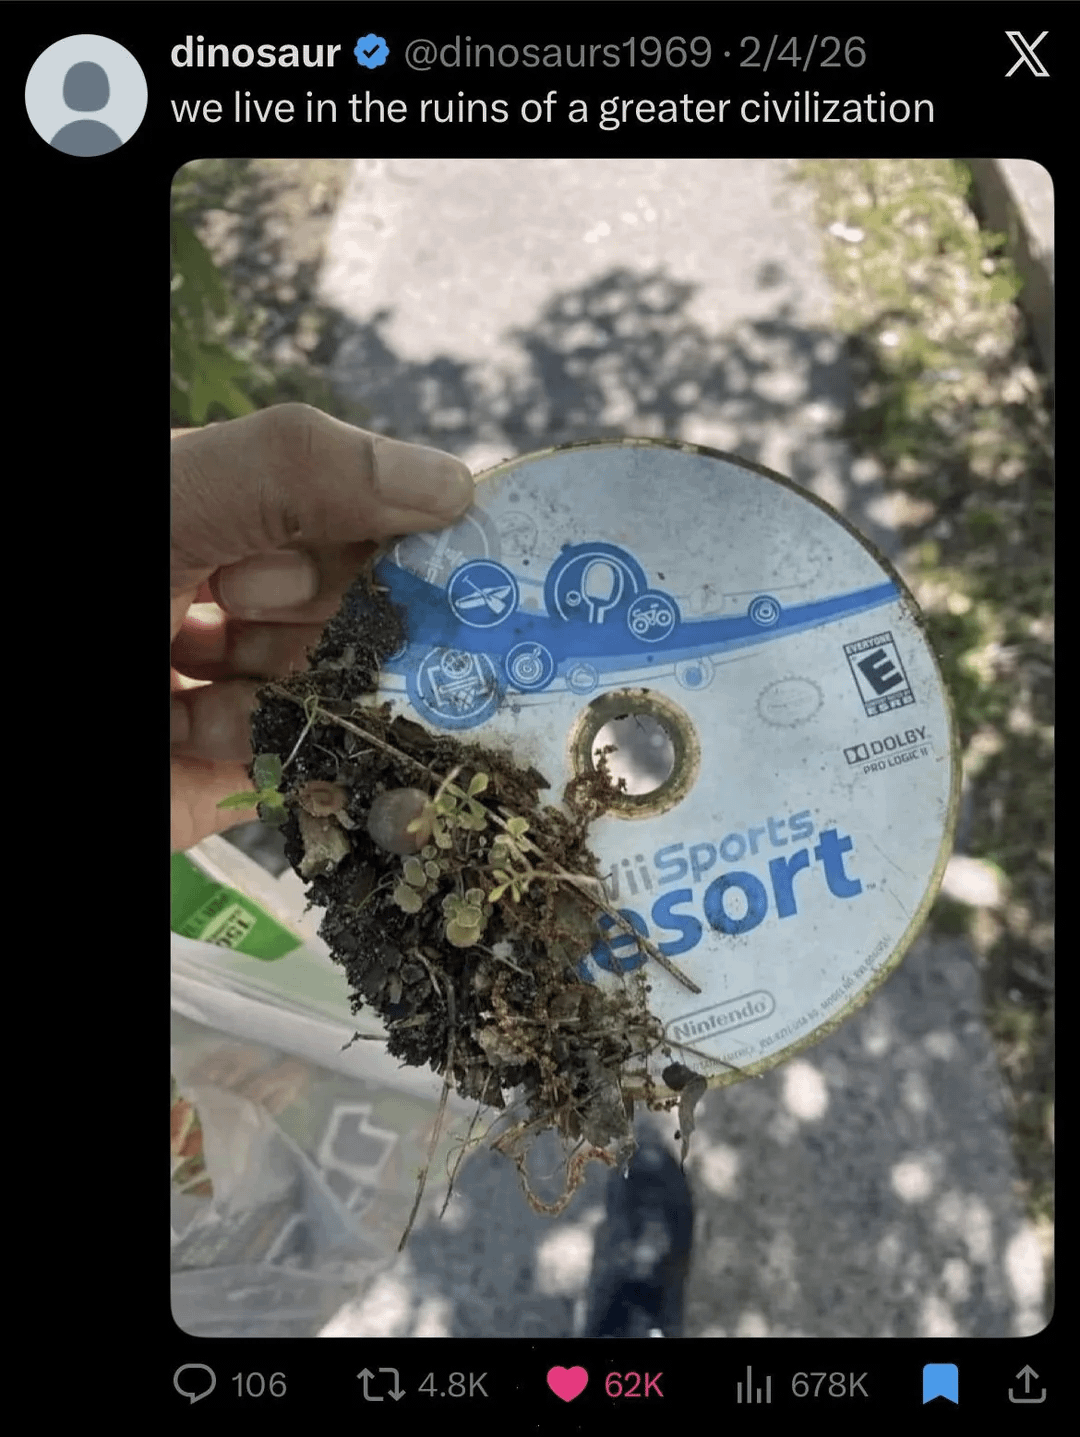
Not gonna lie but it looks kinda cool
Not gonna lie but it looks kinda cool
3
·
0 Comments
·
0 Shares
·
9K Views
·
0 Reviews
mohamedElngar21
added a photo
2026-03-03 16:29:04
·
A cool guide of every country the U.S. has attacked in the 21st Century and which president(s) authorized the strikes
A cool guide of every country the U.S. has attacked in the 21st Century and which president(s) authorized the strikes
3
·
0 Comments
·
0 Shares
·
17K Views
·
0 Reviews
CouchPotatoFamine
added a photo
2026-03-03 02:25:03
·
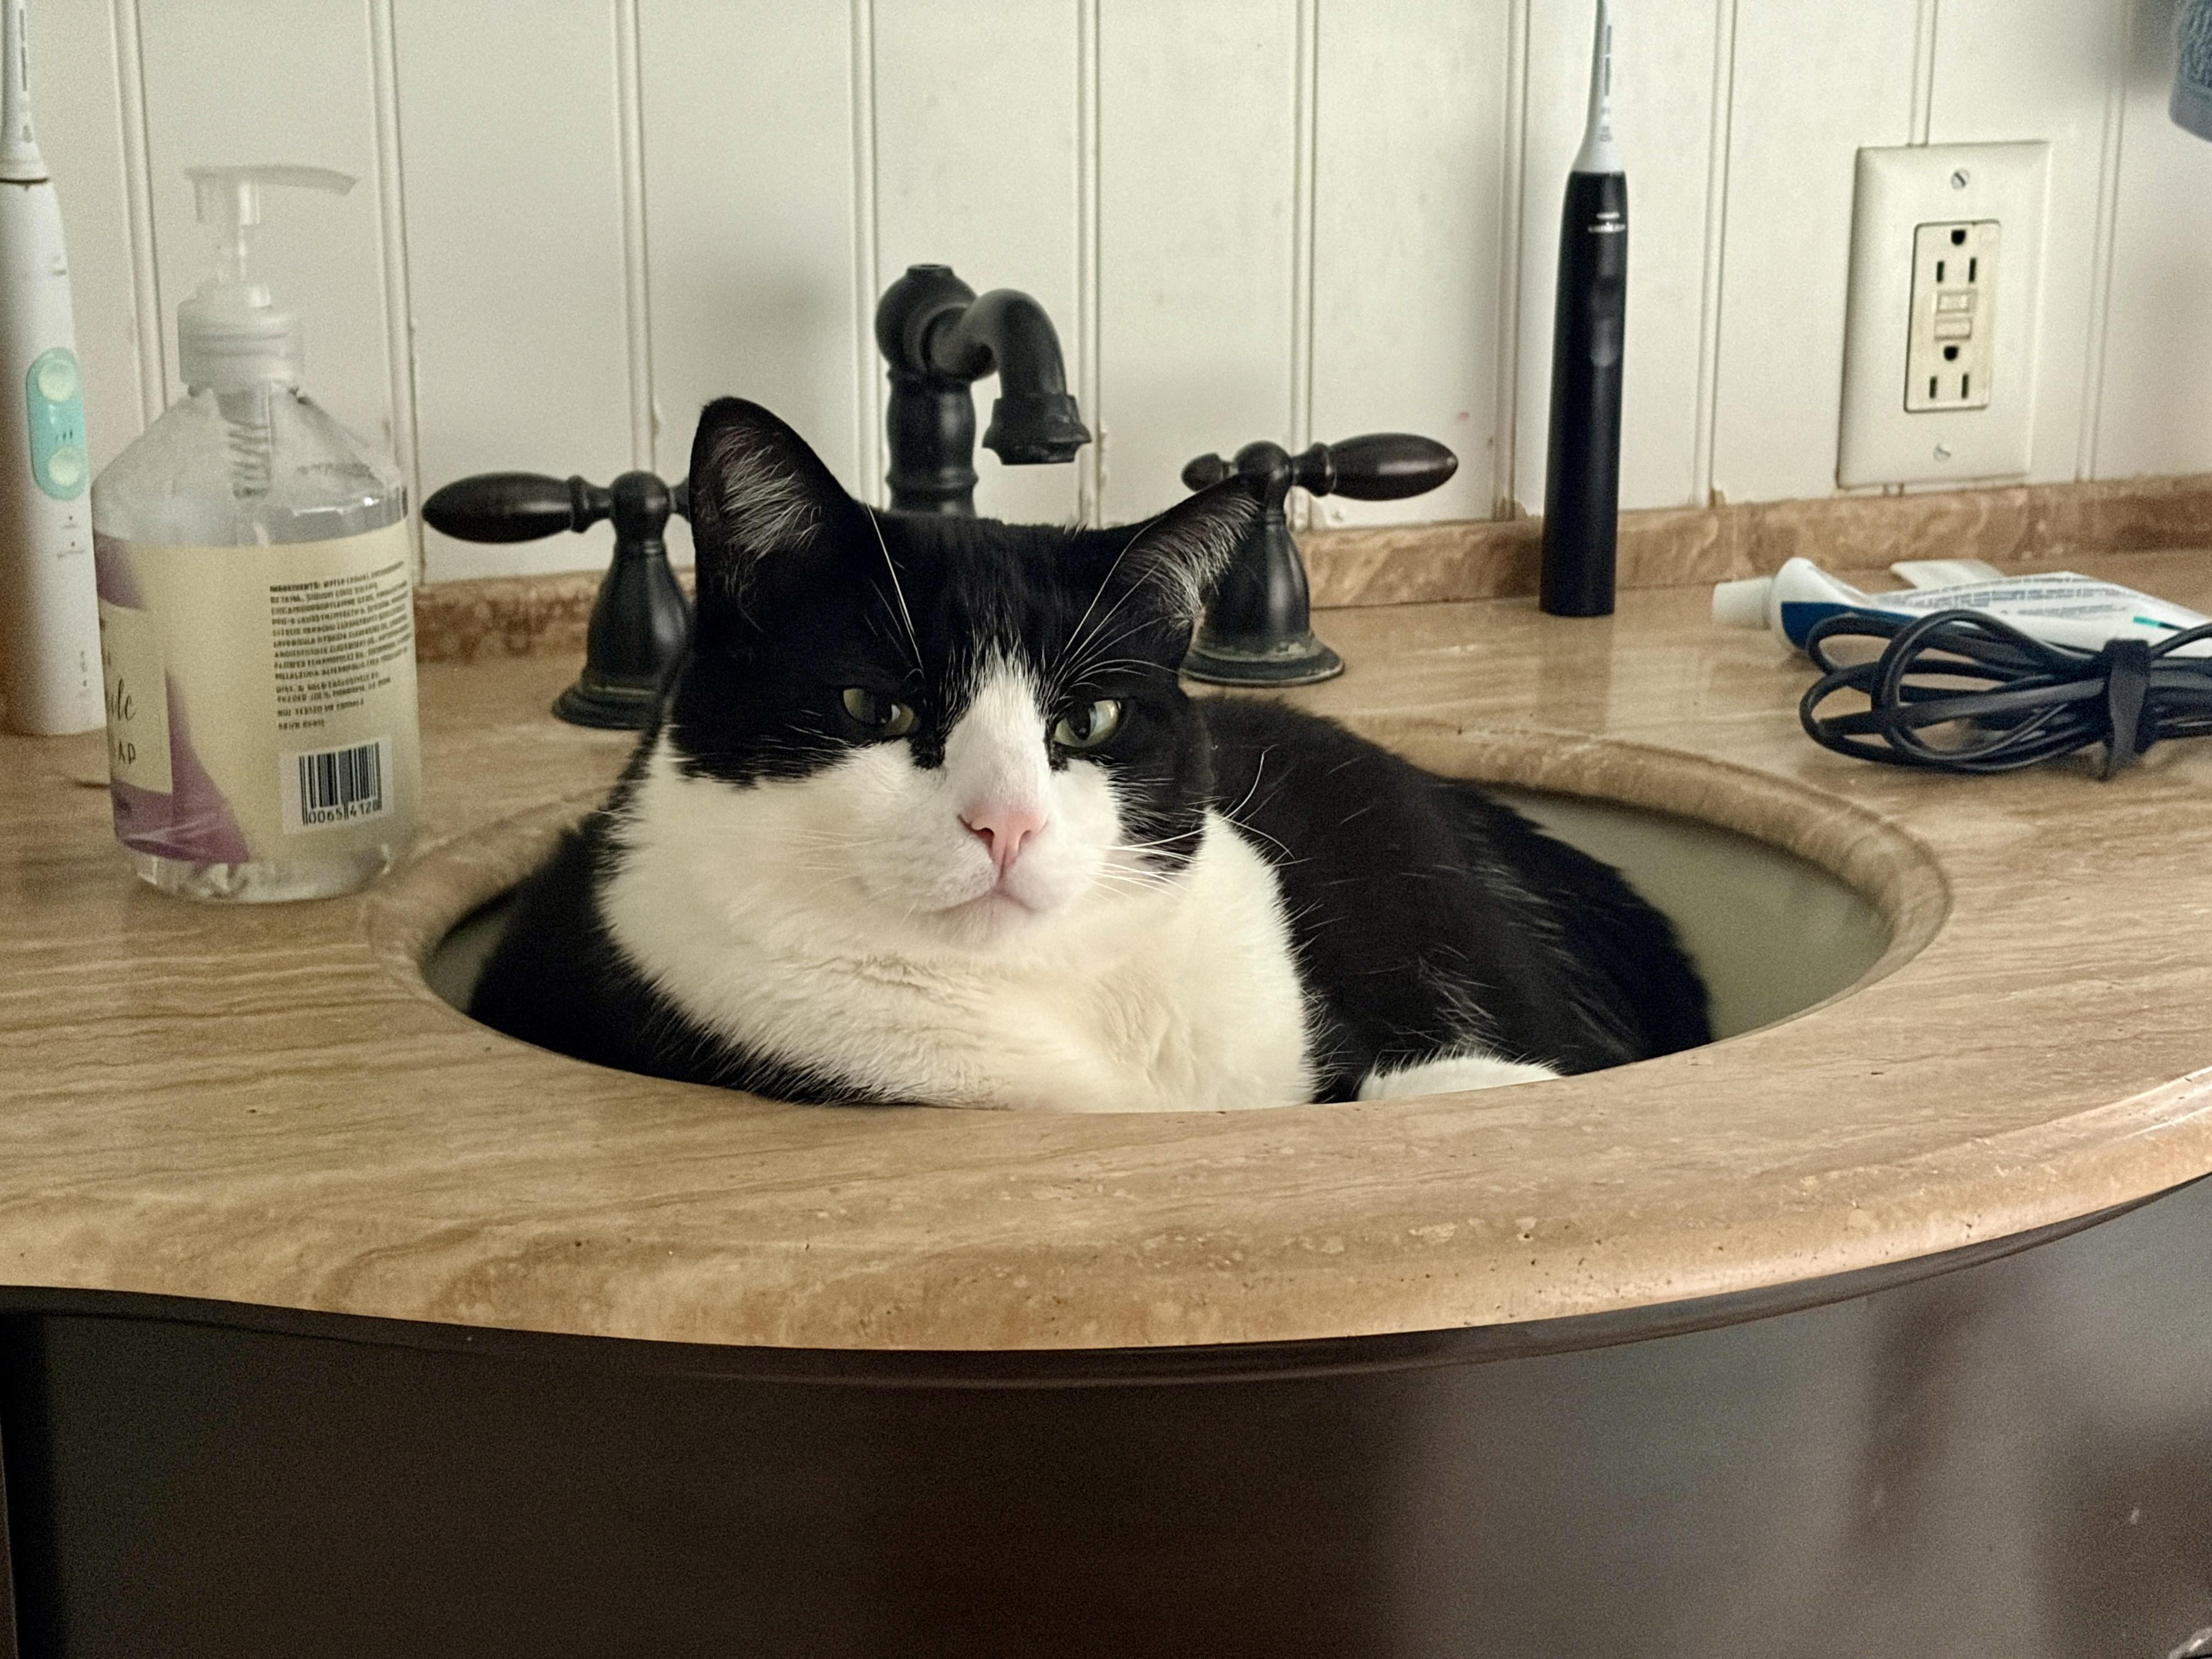
That’s cool, I can brush my teeth downstairs…
That’s cool, I can brush my teeth downstairs…
3
·
0 Comments
·
0 Shares
·
48K Views
·
0 Reviews
More Results
Upgrade to Pro
Choose the Plan That's Right for You
Upgrade