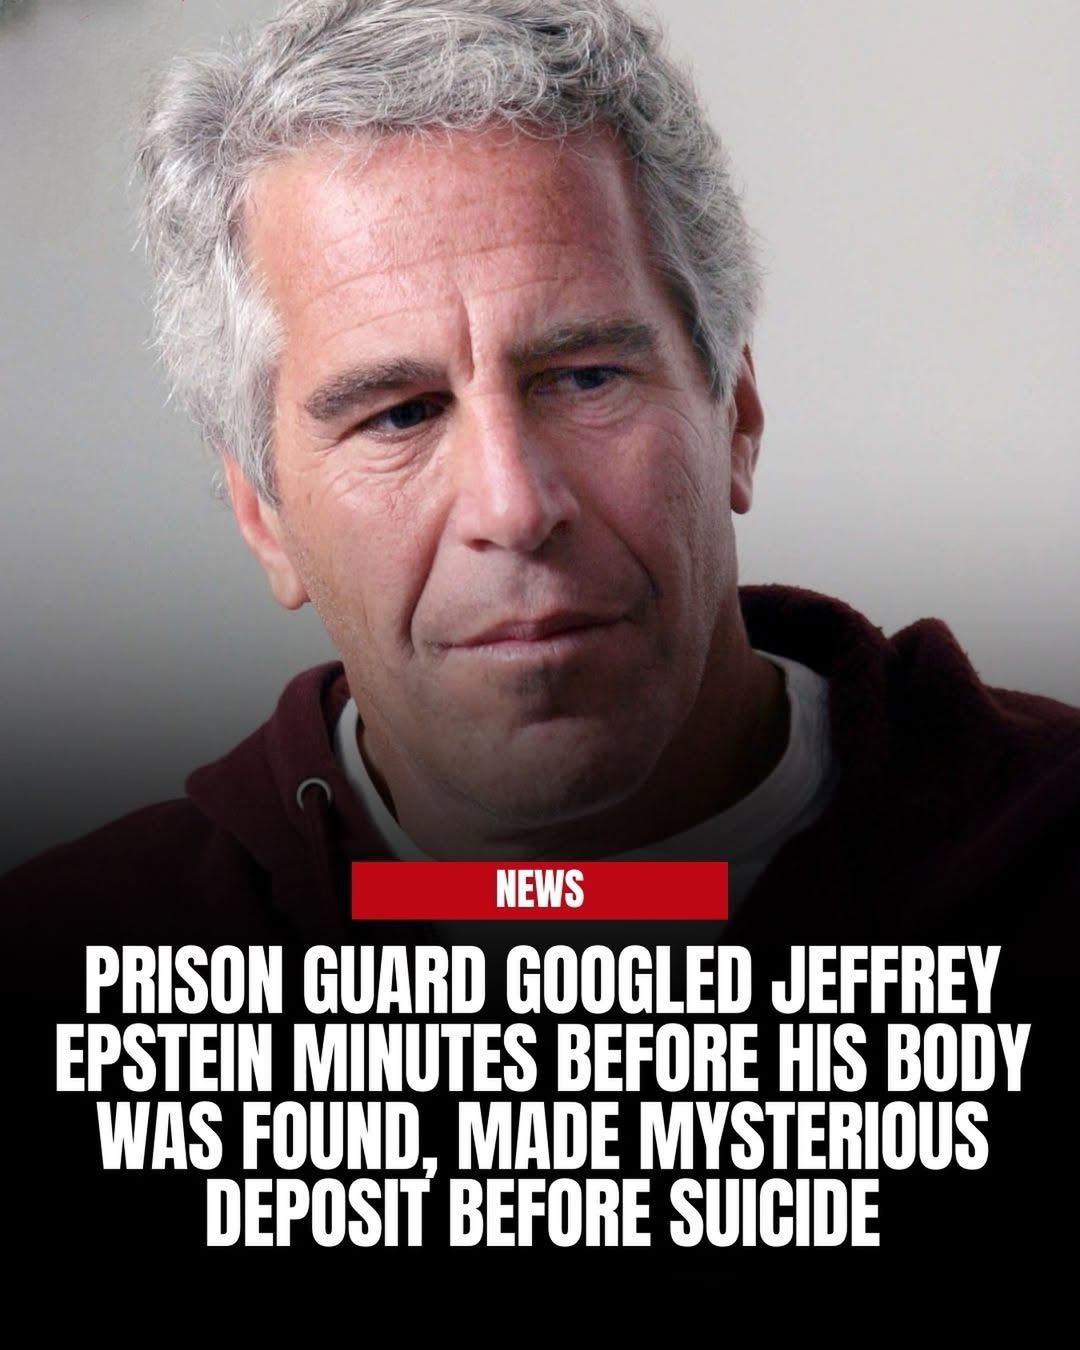
• Title: Low-Carb Delight: Your New Favorite Keto Pizza

    Indulge guilt-free with this delicious Keto Pizza that’s easy to make and packed with flavor!

    Ingredients:
    - 1 cup mixed mozzarella and parmesan cheese
    - 2 tbsp almond flour
    - 1 large egg
    - Seasonings to taste (e.g., oregano, garlic paste, salt, pepper)
    - Low carb pizza sauce
    - Sausage (cooked)
    - Chorizo (cooked)
    - Pepperoni
    - Additional mozzarella cheese for topping

    Directions:
    1. Preheat your oven to 350°F (175°C).
    2. In a mixing bowl, combine the mozzarella, parmesan, almond flour, egg, and your choice of seasonings. Mix well until everything is beautifully blended.
    3. Line an 8" baking pan with parchment paper and pour your cheesy mixture into it. Spread it out evenly to create a thin crust.
    4. Bake for 10 minutes until it’s slightly golden, then carefully flip the crust to ensure both sides get nice and crispy.
    5. Now comes the fun part! Add your favorite low carb toppings: start with a layer of pizza sauce, then add cooked sausage, chorizo, pepperoni, and a sprinkle of mozzarella cheese.
    6. Return your loaded pizza to the oven and bake for another 10 minutes, until the toppings are bubbly and delicious.

    Nutritional Values (per serving):
    - Serving Size: 1 slice (assuming 8 slices total)
    - Calories: 235
    - Total Fat: 18g
    - Protein: 16g
    - Total Carbohydrates: 4g
    - Fiber: 1g
    - Net Carbs: 3g

    Grab a slice of this delightful low-carb pizza that's not only keto-friendly but also packed with mouthwatering flavors. Perfect for pizza night without the guilt!

    Enjoy this treat! #KetoPizza #LowCarb #KetoRecipes #DeliciouslyHealthy #PizzaLovers
    Title: Low-Carb Delight: Your New Favorite Keto Pizza Indulge guilt-free with this delicious Keto Pizza that’s easy to make and packed with flavor! Ingredients: - 1 cup mixed mozzarella and parmesan cheese - 2 tbsp almond flour - 1 large egg - Seasonings to taste (e.g., oregano, garlic paste, salt, pepper) - Low carb pizza sauce - Sausage (cooked) - Chorizo (cooked) - Pepperoni - Additional mozzarella cheese for topping Directions: 1. Preheat your oven to 350°F (175°C). 2. In a mixing bowl, combine the mozzarella, parmesan, almond flour, egg, and your choice of seasonings. Mix well until everything is beautifully blended. 3. Line an 8" baking pan with parchment paper and pour your cheesy mixture into it. Spread it out evenly to create a thin crust. 4. Bake for 10 minutes until it’s slightly golden, then carefully flip the crust to ensure both sides get nice and crispy. 5. Now comes the fun part! Add your favorite low carb toppings: start with a layer of pizza sauce, then add cooked sausage, chorizo, pepperoni, and a sprinkle of mozzarella cheese. 6. Return your loaded pizza to the oven and bake for another 10 minutes, until the toppings are bubbly and delicious. Nutritional Values (per serving): - Serving Size: 1 slice (assuming 8 slices total) - Calories: 235 - Total Fat: 18g - Protein: 16g - Total Carbohydrates: 4g - Fiber: 1g - Net Carbs: 3g Grab a slice of this delightful low-carb pizza that's not only keto-friendly but also packed with mouthwatering flavors. Perfect for pizza night without the guilt! Enjoy this treat! #KetoPizza #LowCarb #KetoRecipes #DeliciouslyHealthy #PizzaLovers
    Like
    Love
    Wow
    · 0 Comments ·0 Shares ·30K Views
  • Should have put them on a higher shelf last night...
    Should have put them on a higher shelf last night...
    Like
    Love
    Wow
    · 0 Comments ·0 Shares ·30K Views
  • Cajun Shrimp and Chicken Pasta

    Spicy Cajun Cream Pasta with Shrimp and Chicken

    Ingredients:

    8 oz fettuccine or penne pasta

    1/2 lb shrimp, peeled and deveined

    1/2 lb chicken breast, thinly sliced

    2 tbsp Cajun seasoning (divided)

    2 tbsp olive oil

    1 tbsp butter

    1 red bell pepper, sliced

    1 yellow bell pepper, sliced

    1 small red onion, sliced

    3 cloves garlic, minced

    1 cup heavy cream

    1/2 cup chicken broth

    1/2 cup grated Parmesan cheese

    Salt and pepper, to taste

    Fresh parsley, chopped (for garnish)

    Directions:

    Cook pasta according to package directions. Drain and set aside.

    Season shrimp and chicken separately with 1 tbsp of Cajun seasoning each.

    In a large skillet, heat 1 tbsp olive oil over medium-high heat. Cook the chicken for 5–6 minutes until golden and cooked through. Remove and set aside.

    Add another 1 tbsp olive oil to the same skillet and cook the shrimp for 2–3 minutes per side or until pink and opaque. Remove and set aside.

    Lower heat to medium, add butter to the skillet, then sauté bell peppers and onion for 4–5 minutes until softened. Add garlic and cook for another 30 seconds.

    Pour in heavy cream and chicken broth. Stir and bring to a gentle simmer.

    Stir in Parmesan cheese and let it melt into the sauce. Season with salt and pepper to taste.

    Return the cooked shrimp and chicken to the skillet, along with the cooked pasta. Toss everything to coat in the creamy sauce.

    Garnish with fresh parsley and serve hot.

    Prep Time: 15 minutes | Cooking Time: 25 minutes | Total Time: 40 minutes
    Kcal: 610 kcal | Servings: 4 servings

    #cajunpasta #shrimpandchickenpasta #creamycajunpasta #spicycomfortfood #southernpasta #easyweeknightmeal #homecooking #pastarecipe #creamyshrimpchicken #cajunflavors #comfortfoodrecipes #spicydinnerideas #seafoodpasta #quickdinnerrecipe #pastaheaven #onepotmeal #chickendinner #shrimpdinner #cheesypasta #easyfamilydinner

    Creamy, spicy, and loaded with shrimp and chicken – this Cajun Pasta is the ultimate comfort food you didn’t know you needed!
    Cajun Shrimp and Chicken Pasta Spicy Cajun Cream Pasta with Shrimp and Chicken Ingredients: 8 oz fettuccine or penne pasta 1/2 lb shrimp, peeled and deveined 1/2 lb chicken breast, thinly sliced 2 tbsp Cajun seasoning (divided) 2 tbsp olive oil 1 tbsp butter 1 red bell pepper, sliced 1 yellow bell pepper, sliced 1 small red onion, sliced 3 cloves garlic, minced 1 cup heavy cream 1/2 cup chicken broth 1/2 cup grated Parmesan cheese Salt and pepper, to taste Fresh parsley, chopped (for garnish) Directions: Cook pasta according to package directions. Drain and set aside. Season shrimp and chicken separately with 1 tbsp of Cajun seasoning each. In a large skillet, heat 1 tbsp olive oil over medium-high heat. Cook the chicken for 5–6 minutes until golden and cooked through. Remove and set aside. Add another 1 tbsp olive oil to the same skillet and cook the shrimp for 2–3 minutes per side or until pink and opaque. Remove and set aside. Lower heat to medium, add butter to the skillet, then sauté bell peppers and onion for 4–5 minutes until softened. Add garlic and cook for another 30 seconds. Pour in heavy cream and chicken broth. Stir and bring to a gentle simmer. Stir in Parmesan cheese and let it melt into the sauce. Season with salt and pepper to taste. Return the cooked shrimp and chicken to the skillet, along with the cooked pasta. Toss everything to coat in the creamy sauce. Garnish with fresh parsley and serve hot. Prep Time: 15 minutes | Cooking Time: 25 minutes | Total Time: 40 minutes Kcal: 610 kcal | Servings: 4 servings #cajunpasta #shrimpandchickenpasta #creamycajunpasta #spicycomfortfood #southernpasta #easyweeknightmeal #homecooking #pastarecipe #creamyshrimpchicken #cajunflavors #comfortfoodrecipes #spicydinnerideas #seafoodpasta #quickdinnerrecipe #pastaheaven #onepotmeal #chickendinner #shrimpdinner #cheesypasta #easyfamilydinner Creamy, spicy, and loaded with shrimp and chicken – this Cajun Pasta is the ultimate comfort food you didn’t know you needed!
    Like
    Love
    Wow
    · 0 Comments ·0 Shares ·31K Views
  • If you’re in the mood for a quick and delicious meal, these Mission Tortilla Wrap Pizzas are the perfect solution! Crispy, cheesy, and totally customizable, they’re sure to satisfy your cravings.

    Ingredients:
    - Mission tortilla wraps
    - Olive oil (or oil of your choice)
    - Rao's pizza sauce
    - Italian seasoning
    - Cheese of your choice (mozzarella, cheddar, or a blend work great!)
    - Toppings of your choice (pepperoni, veggies, or anything that makes you happy!)

    Directions:
    1. In a frying pan, heat a little olive oil over medium heat. Once hot, add the tortilla wraps and brown them on both sides until they're nice and crispy.
    2. Spread a generous layer of Rao's pizza sauce over each tortilla, then sprinkle with a dash of Italian seasoning.
    3. Top with your favorite cheese and any additional toppings you like.
    4. Transfer to a baking sheet and pop them in the oven at 425°F for about 10-12 minutes, or until the cheese is melted and bubbly and the edges are beautifully crisp.

    Nutrition Facts (per serving):
    - Calories: 280
    - Protein: 12g
    - Fat: 15g
    - Carbohydrates: 30g
    - Fiber: 2g
    - Sugars: 2g

    Serving Size: 1 Tortilla Wrap Pizza

    Enjoy these yummy and satisfying pizza wraps any time of the day! Perfect for a quick dinner or a fun family activity.

    #TortillaWrapPizzas #QuickMeals #EasyRecipes #Foodie #PizzaNight
    If you’re in the mood for a quick and delicious meal, these Mission Tortilla Wrap Pizzas are the perfect solution! Crispy, cheesy, and totally customizable, they’re sure to satisfy your cravings. Ingredients: - Mission tortilla wraps - Olive oil (or oil of your choice) - Rao's pizza sauce - Italian seasoning - Cheese of your choice (mozzarella, cheddar, or a blend work great!) - Toppings of your choice (pepperoni, veggies, or anything that makes you happy!) Directions: 1. In a frying pan, heat a little olive oil over medium heat. Once hot, add the tortilla wraps and brown them on both sides until they're nice and crispy. 2. Spread a generous layer of Rao's pizza sauce over each tortilla, then sprinkle with a dash of Italian seasoning. 3. Top with your favorite cheese and any additional toppings you like. 4. Transfer to a baking sheet and pop them in the oven at 425°F for about 10-12 minutes, or until the cheese is melted and bubbly and the edges are beautifully crisp. Nutrition Facts (per serving): - Calories: 280 - Protein: 12g - Fat: 15g - Carbohydrates: 30g - Fiber: 2g - Sugars: 2g Serving Size: 1 Tortilla Wrap Pizza Enjoy these yummy and satisfying pizza wraps any time of the day! Perfect for a quick dinner or a fun family activity. #TortillaWrapPizzas #QuickMeals #EasyRecipes #Foodie #PizzaNight
    Like
    Love
    Wow
    · 0 Comments ·0 Shares ·30K Views
  • Gochujang Chicken Sandwich with Spicy Mayo

    Crispy Fried Chicken Sandwich with Spicy Korean Gochujang Mayo

    Ingredients:

    2 boneless, skinless chicken thighs

    1 cup buttermilk

    1 teaspoon garlic powder

    1 teaspoon paprika

    1 cup all-purpose flour

    Salt and pepper to taste

    Vegetable oil, for frying

    2 brioche buns

    1/2 cup shredded lettuce

    4 slices cucumber

    2 tablespoons butter, for toasting buns

    For the Spicy Gochujang Mayo:

    1/4 cup mayonnaise

    1 tablespoon gochujang (Korean chili paste)

    1 teaspoon rice vinegar

    1 teaspoon honey

    1/2 teaspoon sesame oil

    Pinch of salt

    Directions:

    Whisk buttermilk with garlic powder, paprika, salt, and pepper. Add chicken thighs and marinate for at least 1 hour (or overnight).

    In a bowl, mix flour with a bit more salt and pepper. Dredge the marinated chicken in flour until well coated.

    Heat oil in a pan over medium-high heat. Fry chicken thighs until golden brown and crispy, about 4–5 minutes per side. Drain on a wire rack.

    In a small bowl, mix all gochujang mayo ingredients until smooth. Adjust heat level to taste.

    Lightly butter and toast brioche buns until golden.

    Assemble sandwiches: spread gochujang mayo on both buns, layer lettuce, fried chicken, cucumber slices, and top with the bun. Serve hot.

    Prep Time: 15 minutes | Cooking Time: 15 minutes | Total Time: 30 minutes
    Kcal: 620 kcal | Servings: 2 servings

    #koreanflavors #gochujangmayo #spicysandwich #friedchicken #koreanfusion #briochebun #crispychicken #easyrecipes #homemadesandwich #flavorpacked #asiansauces #spicyfoodie #chickensandwich #heatseekers #weeknightdinner #comfortfood #foodtrends #fusionflavors #koreanstyle #saucybites

    Say hello to your new obsession: crispy fried chicken drenched in creamy, spicy Korean Gochujang mayo on a toasted brioche bun!
    Gochujang Chicken Sandwich with Spicy Mayo Crispy Fried Chicken Sandwich with Spicy Korean Gochujang Mayo Ingredients: 2 boneless, skinless chicken thighs 1 cup buttermilk 1 teaspoon garlic powder 1 teaspoon paprika 1 cup all-purpose flour Salt and pepper to taste Vegetable oil, for frying 2 brioche buns 1/2 cup shredded lettuce 4 slices cucumber 2 tablespoons butter, for toasting buns For the Spicy Gochujang Mayo: 1/4 cup mayonnaise 1 tablespoon gochujang (Korean chili paste) 1 teaspoon rice vinegar 1 teaspoon honey 1/2 teaspoon sesame oil Pinch of salt Directions: Whisk buttermilk with garlic powder, paprika, salt, and pepper. Add chicken thighs and marinate for at least 1 hour (or overnight). In a bowl, mix flour with a bit more salt and pepper. Dredge the marinated chicken in flour until well coated. Heat oil in a pan over medium-high heat. Fry chicken thighs until golden brown and crispy, about 4–5 minutes per side. Drain on a wire rack. In a small bowl, mix all gochujang mayo ingredients until smooth. Adjust heat level to taste. Lightly butter and toast brioche buns until golden. Assemble sandwiches: spread gochujang mayo on both buns, layer lettuce, fried chicken, cucumber slices, and top with the bun. Serve hot. Prep Time: 15 minutes | Cooking Time: 15 minutes | Total Time: 30 minutes Kcal: 620 kcal | Servings: 2 servings #koreanflavors #gochujangmayo #spicysandwich #friedchicken #koreanfusion #briochebun #crispychicken #easyrecipes #homemadesandwich #flavorpacked #asiansauces #spicyfoodie #chickensandwich #heatseekers #weeknightdinner #comfortfood #foodtrends #fusionflavors #koreanstyle #saucybites Say hello to your new obsession: crispy fried chicken drenched in creamy, spicy Korean Gochujang mayo on a toasted brioche bun!
    Like
    Love
    Wow
    · 0 Comments ·0 Shares ·31K Views
More Results